After much controversy surrounding its production, use, and sale, cannabis is finally seeing favorable legislation in many countries. As a result, the cultivation of cannabis seeds has become a pastime enjoyed by a wide variety of people. Starting to grow cannabis from seeds can be an interesting adventure.
Not only can you guide your plants through a full growth cycle, but you can also customize them to meet specific needs. If cannabis is legal in your state, you can buy seeds at a local dispensary or online from various seed banks to germinate them. But how do you grow cannabis seeds?
What You Need to Know About Cannabis Seeds
The seeds are , of course, the seeds of the cannabis plant. To successfully grow cannabis, it is important to grow only female plants. Female plants will produce high-quality flowers for smoking. However, these same female plants must be seedless.
So where do the seeds come from?
Seeds are produced when a female plant is pollinated by a male plant. This cannot happen if you’re growing females to produce smokeable flowers, because the buds would then be filled with seeds. That’s why growers isolate their female plants as soon as they identify their sex, and you should do the same.
Of course, if the seeds are intended for breeding orcannabis oil, this process is permitted. However, when it comes to creating cannabis seeds to produce a new generation of plants, there are other techniques that experienced growers will use.
Do all cannabis plants produce seeds?
Cannabis is grown from one of two sources: a seed or a clone. Cannabis plants produce seeds only when a male plant pollinates a female plant. It is rare to find seeds in a dispensary-grade bud, and it is also unlikely that your plants will develop seeds if you grow them from a clone. When you smoke or vape marijuana, you’re typically consuming the unpollinated, seedless female flower. This part of the plant is called sinsemilla, which means “seedless.”
How important are female plants?
Female plants produce much more resin than male plants, which is why the buds of female flowers are the ones grown for harvest. Marijuana resin, in the form of trichomes, plays a crucial role in the plant’s reproductive cycle. The female cannabis bud, rich in trichomes, is designed to capture male pollen spores in order to develop seeds and reproduce.
When females are kept away from males, you not only create sensimillies, but you also boost trichome production. Only female marijuana plants produce buds with very high THC levels. So you need to make sure all your cannabis plants are female. If you have a male plant, it can fertilize the other female plants, and they’ll end up producing seeds instead of flowers and buds.
How do you choose your seeds?
Given a rapidly expanding market and a wide variety of seed types, you need to consider certain characteristics to make the right choice. We’ll outline the most commonly used indicators for you.Color
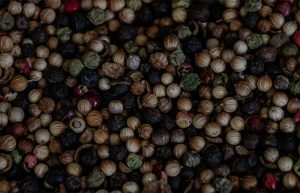
Look for a seed that is dark brown and teardrop-shaped. Some seeds, however, have stripes or dark markings in various shades of brown, black, or reddish-brown. These are just as good. But don’t buy pale or green seeds.Size
It all depends on your preferences. The two main varieties of cannabis are Indica and Sativa. If you want larger seeds with stripes, go for Indica. On the other hand, if you prefer smaller seeds with a more uniform color, Sativa cannabis seeds are the right choice for you.Hardness
A good seed is characterized by a hard outer shell. Do not buy seeds that are soft or damaged.The variety
Thanks to all the innovative breeders, modern marijuana has become a highly diverse plant. You can find fast-growing strains, autoflowering seeds, feminized seeds, outdoor seeds, and strains bred to grow well indoors. Depending on your preferences and goals, you can choose the strain that’s right for you.
By combining these factors, choosing your cannabis seeds will be a fun experience. Now, it’s time to germinate them. Germination simply refers to the process of growing your seed into a cannabis plant. If you have the necessary skills to germinate your seeds safely, there are countless ways to do so.
Germination Using the Pre-Soaking Method
Simply put, pre-soaking means soaking your seeds in lukewarm water (not too hot!) until they sink to the bottom of your glass or container. The idea is that soaking the seeds speeds up the germination process by ensuring that the seeds are completely moist before you plant them.
Some people soak their seeds for up to seven days, or until a root appears. However, the main problem is that pre-soaking increases the risk of rot and mold even before the plant has fully sprouted.
What are the advantages of this method?
The benefits of pre-soaking seeds are a topic of debate among growers. Some swear by it. Others, however, believe that you risk exposing your seeds to rot if they are too far along in the germination process before being removed.
Pre-soaking speeds things up a bit by ensuring that the seed is completely moist before it is planted. It also allows you to test the seed’s viability before planting; a seed that will germinate will absorb water and become soft. You may also notice that a root begins to emerge after you remove the seed from the water.
How do I proceed?
The pre-soaking method can be broken down into several steps, depending on the person. While this isn’t meant to be exhaustive, here’s a step-by-step guide to successful sprouting.Fill a shot glass or small cup halfway with purified or bottled water
Avoid using tap water, as it is often treated with chlorine or other substances that can hinder seed growth. Most of the time, tap water is fine, but if you really want to give your seeds the best chance of producing a high-quality crop, it’s worth being selective. Add your seeds
Avoid overcrowding. You want the seeds to float above the waterline, so don't put in so many that they're completely submerged from the start.Place the seeds in a slightly warm, dark spot with a stable temperature.
Seeds that are germinating don't like light, but they need a certain amount of heat to get started. The top of the water heater is usually a good spot. The ideal temperature is about 75–80 degrees F or 22 degrees C. Wait until the seeds sprout.
Many growers suggest letting the seeds soak for up to 24 hours. However, the goal is to wait until the seeds sink to the bottom of the glass. When they sink, you know that water has penetrated the outer shell and that your seeds are thoroughly moist. Do not leave them submerged for too long, as they may drown or become more prone to rotting.Gently remove the seeds from the glass.
Since the seeds are soft and may already have roots, be careful not to damage them. An easy way to remove the seeds from the glass is to gently pour them into another glass or into a large colander lined with a paper towel. You can then collect them more easily from there.
All you have to do is bury your seeds in the ground, and after a few days, you'll see the desired result.
Germination Using the Paper Towel Method
The paper towel method is one of the most popular germination methods. It takes a little longer than the pre-soaking method, but the risk of rot is lower if you’re careful. Simply dampen a paper towel, fold it, place the seeds inside the fold, and then put the damp paper towel in a plastic bag. Keep the plastic bag in a dark, warm place, but keep an eye on it to make sure it doesn’t get moldy. After a few days, a root will appear. You can then transfer the germinating seed to soil.
How do I proceed?
Moisten the paper towel with purified water
Make sure the paper towels aren’t too damp, as this increases the risk of rot. By spraying the paper towels with a spray bottle instead of soaking them in water, you can ensure they aren’t too wet. Moist cotton pads can also be used instead of paper towels.Place your seeds in the center of the damp paper towel and fold it
Make sure your seeds are spaced far enough apart and that they are completely covered by the paper towel. Holding the paper towel horizontally, slide the damp paper towel into a plastic bag. Close the bag partially and make sure it remains horizontal.Blow a little air into the plastic bag.
Once the bag is slightly inflated, seal in the air inside. Keep in mind that the seeds need a little air to germinate. So keep the bag in a warm, dark place.Keep an eye on your seeds.
Check your seeds daily to see if they have started to sprout. As soon as a taproot begins to appear, that’s a sign they’re ready to be planted.
As with the pre-soaking method, be sure to handle your seeds carefully so as not to damage them.
Germination Using the Direct Soil Method
You can plant your seeds directly in the soil, whether you've moistened it beforehand or not. This is a popular option for most people.
How do I proceed?
Prepare your container
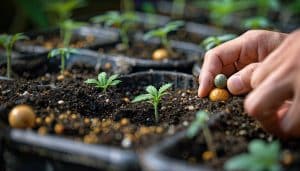
Fill a small container with prepared potting soil, a peat pellet, or rock wool. If you’re using potting soil, use your finger or a pencil eraser to make a hole about 5 cm deep. Aim for a hole about twice as deep as the seed you’re going to plant.Place your seed in the hole.
If you’ve pre-soaked the cannabis seed, place the root end facing down. If you’re germinating the seed directly in the soil, place the tip of the seed facing down. Gently place a little soil over the seed, but don’t pack it down. You just want a light dusting that will help keep the seed moist and in the dark.Moisten
Use a spray bottle or misting bottle to moisten the soil. Moisten the soil sparingly so as not to damage the seeds. If your seeds haven’t germinated before planting, cover your container with plastic wrap. The plastic wrap creates a greenhouse effect and retains soil moisture by trapping evaporated water and condensing it into dew. If you’re using peat pellets or small pots filled with soil, you can also purchase a grow box with a plastic lid from a local garden center. The ideal humidity level is between 70 and 90%.Wait for your cannabis plant to grow.
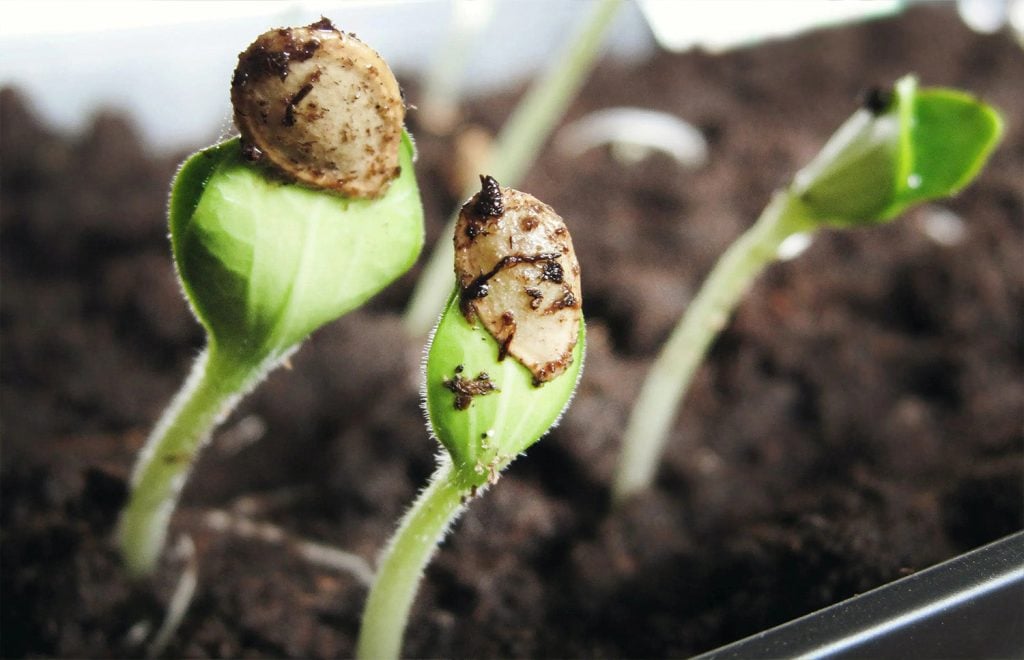
After about 4 or 5 days, you'll notice that your seeds are starting to sprout. At this point, you need to make sure your plants are well-ventilated and have access to light.
Remove any plastic wrap or take the lid off the greenhouse. Place the seeds in front of a south-facing window so they get sunlight. Otherwise, place them under a grow light. Eighteen hours of light and six hours of complete darkness generally yield the best results. At this early stage of seedling growth, the plants are still fragile. They therefore need a warm environment. In addition, the soil should be moist, but not excessively so.The transplanting stage
Once your seedlings have well-established roots, you can transplant them into a larger container. They usually reach this stage after 2 to 6 weeks. The telltale sign that they’re ready to be moved is a sudden surge in cannabis leaf growth, indicating that the plants are now in the vegetative growth phase. The leaves will be recognizable as marijuana leaves.
If you have enough seeds, you can try each of the methods described in this article to see which one yields the best results.