As cannabis cultivation has evolved, autoflowering seeds have become popular due to their fast growth cycles and ease of cultivation. In this guide, we’ll explore how to grow autoflowering cannabis seeds step by step, ensuring successful germination and flowering.
Selecting seeds and initial preparation
To start with, choosing the right seeds is crucial. Opt for high-quality seeds from reliable sources. The first step is germination; place your seed between layers of paper towels that are damp but not soaked through. This process can take anywhere from 24 hours to a few days. Make sure the paper towels stay damp throughout this time without becoming waterlogged.
Planting and First Aid
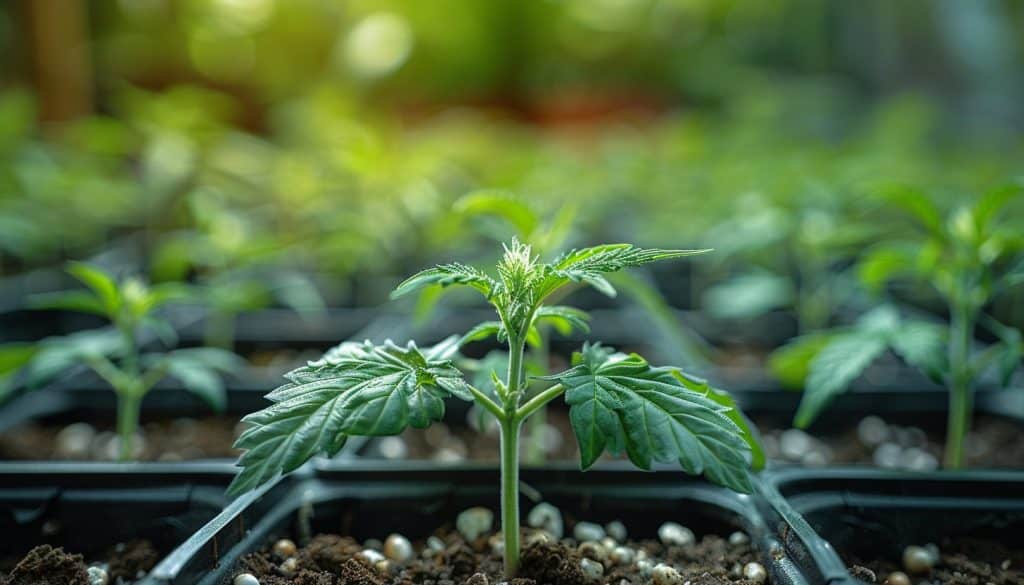
Once the roots are visible, it’s time to plant. Use a pot with good drainage filled with rich potting soil. Plant the sprouted seed very gently, taking care not to bury the stem too deeply to prevent rot. The first few weeks are critical, as the young plant is sensitive to stress. Regular but moderate watering is recommended to keep the soil slightly moist.
Growth Environment Management
The environment plays a key role in the growth of your autoflowering plants. A stable temperature of around 20–25°C and a relative humidity of about 70% promote optimal growth during the early stages. Keep your plants in a location where they will receive at least 18 hours of light per day. To simulate ideal conditions, you can use lamps specifically designed for indoor growing.
Light Optimization
The amount and type of light are critical to the performance of autoflowering cannabis plants. These plants require plenty of light, especially since they don’t rely on the natural light cycle to flower. Using the right LEDs or HPS lights can significantly increase your yield.
Reducing transplant-related stress
Unlike regular strains, autoflowering strains do not respond well to repotting, as this can cause significant stress that may delay their growth. It is recommended to plant them directly in their final pot or use a biodegradable pot that can be transferred to a larger one without disturbing the roots.
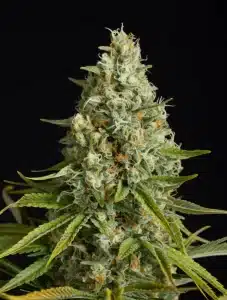
Care during the flowering phase
Autoflowering cannabis plants generally begin to flower about three to four weeks after germination, regardless of light conditions. At this stage, adjust the nutrient ratio by increasing the proportion of phosphorus and potassium to support flower development. Reduce the nitrogen, which was essential during the vegetative growth phase.
Monitoring and Adjusting Nutrients
Nutrition plays a major role in the overall health and productivity of plants. An excess or deficiency of nutrients can seriously affect the quality of the buds. Applying a specific fertilizer tailored to each growth stage helps maximize results.
Optimal watering for abundant blooms
Proper watering is just as crucial during flowering. The soil should be kept moist but not soggy. Be sure to adjust the frequency and amount of watering by closely monitoring the condition of your soil and the ambient climate.
Maintaining a favorable environment after flowering
Even after flowering, vigilance is still key. Keep a close watch for any signs of disease or pest problems. A clean, controlled environment helps prevent these issues and ensures that the buds mature properly.
Precautions against pests and diseases
Regularly inspect your plants visually for warning signs such as yellowing leaves or signs of insect damage. If you find any, use biological control methods or appropriate insecticides that will not affect the final quality of the product.
Pruning techniques for better airflow
Pruning the lower leaves can help improve air circulation around the nodes, thereby reducing humidity and minimizing the risk of fungal diseases. This technique also promotes better light penetration, which is particularly beneficial during this late growth stage.